Quick Start
Prerequisites
Python 3.13 or later
A Google OAuth 2.0 client ID and secret (for authentication)
Installation
git clone https://github.com/TavoloPerUno/py_urn_randomizer.git
cd py_urn_randomizer
python -m venv venv
source venv/bin/activate    # Windows: venv\Scripts\activate
pip install -r requirements.txt
Configuration
Copy the sample configuration and edit it for your study:
cp config-sample.yaml config.yaml
See Configuration for a full reference of available settings.
You also need to set environment variables for Flask. Copy the example:
cp example.env .env
# Edit .env with your Google OAuth credentials and secret key
Database Setup
Initialize the database and create your first user:
flask createdb
flask add_user admin admin@example.com
The add_user command creates a user with an auto-generated API key. To
retrieve the key, run flask list_users.
Running the Server
flask run
Open http://localhost:5000 in your browser and log in with your Google account.
Your First Randomization
From the web interface, click Randomize Participant in the navigation bar. Enter a participant ID, select the appropriate prognostic factor levels, and click Submit. The assigned treatment arm is displayed immediately.
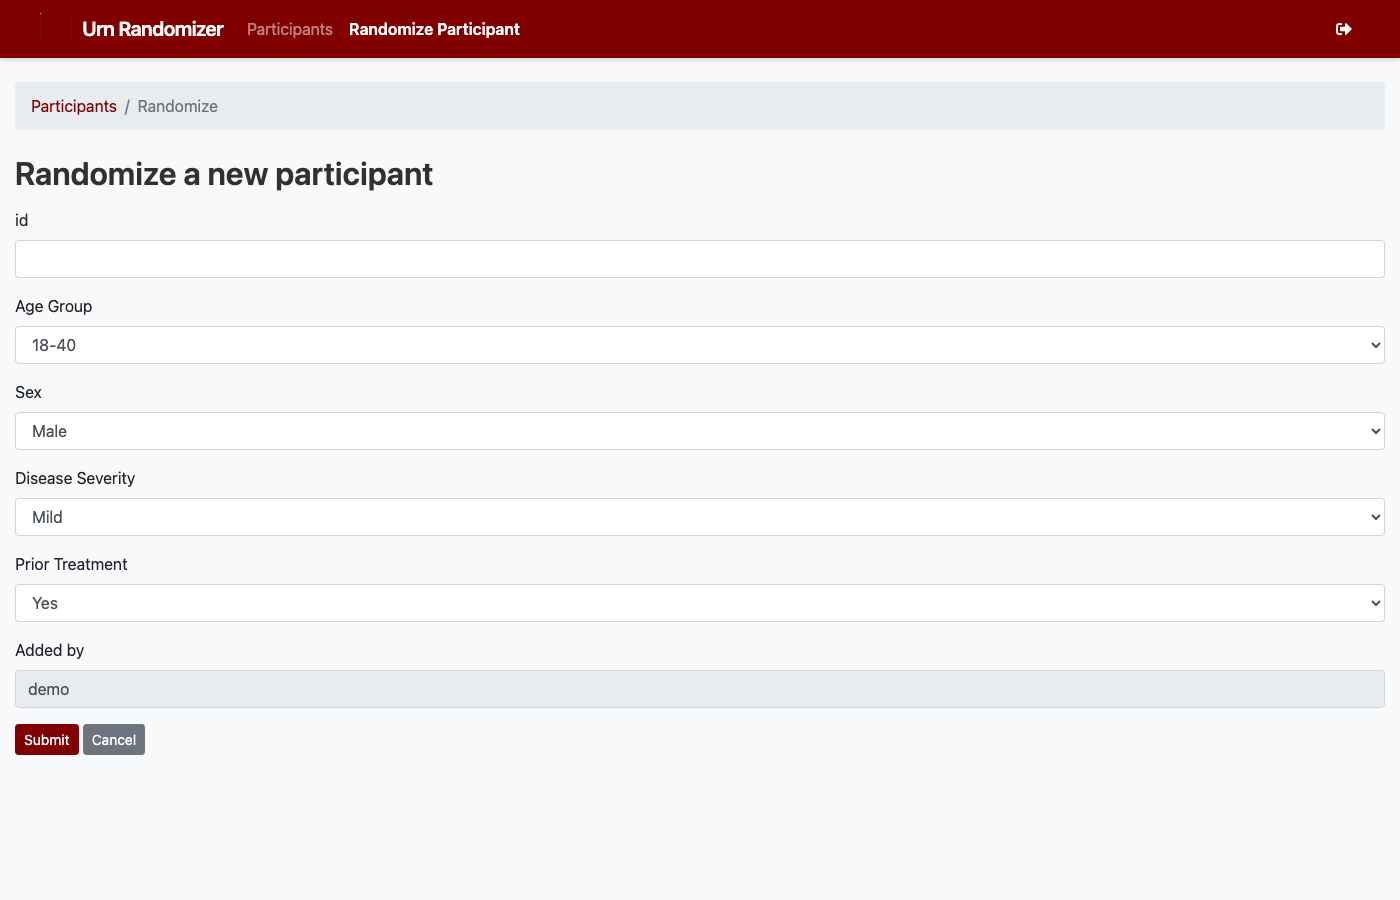
Fig. 1 The randomization form with factor selection fields.
Alternatively, use the CLI:
urn -s "My Study" randomize --id P001 --user admin
The command will interactively prompt for each factor level.
Or the REST API:
curl -X POST "http://localhost:5000/study_participants?\
api_key=YOUR_KEY&study=My+Study&id=P001&age_group=18-40&sex=Male"